Adding a New Study in Chloe
Last updated: May 2, 2025
This article covers creating the shell of a study—the first step before configuring anything else.
Overview
Every study lives inside an organization. From the Studies page under your Organization, you can review existing projects or spin up a new one. Creating a study requires just two items:
Study Name | The public title that participants will see in the Chloe mobile app. |
Study Category | Pick the option that best matches your study type (e.g., sleep, pain, prevention). |
Step-by-Step
Open your Organization
Select Organization in the left navigation.

Go to Studies
Click the Studies tab inside the organization view.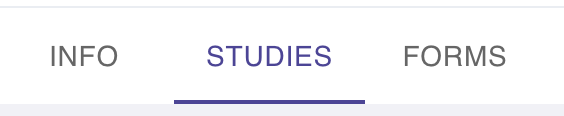
Add a Study
Click Add Study.
Fill in Study Name and Study Category, then hit Create.
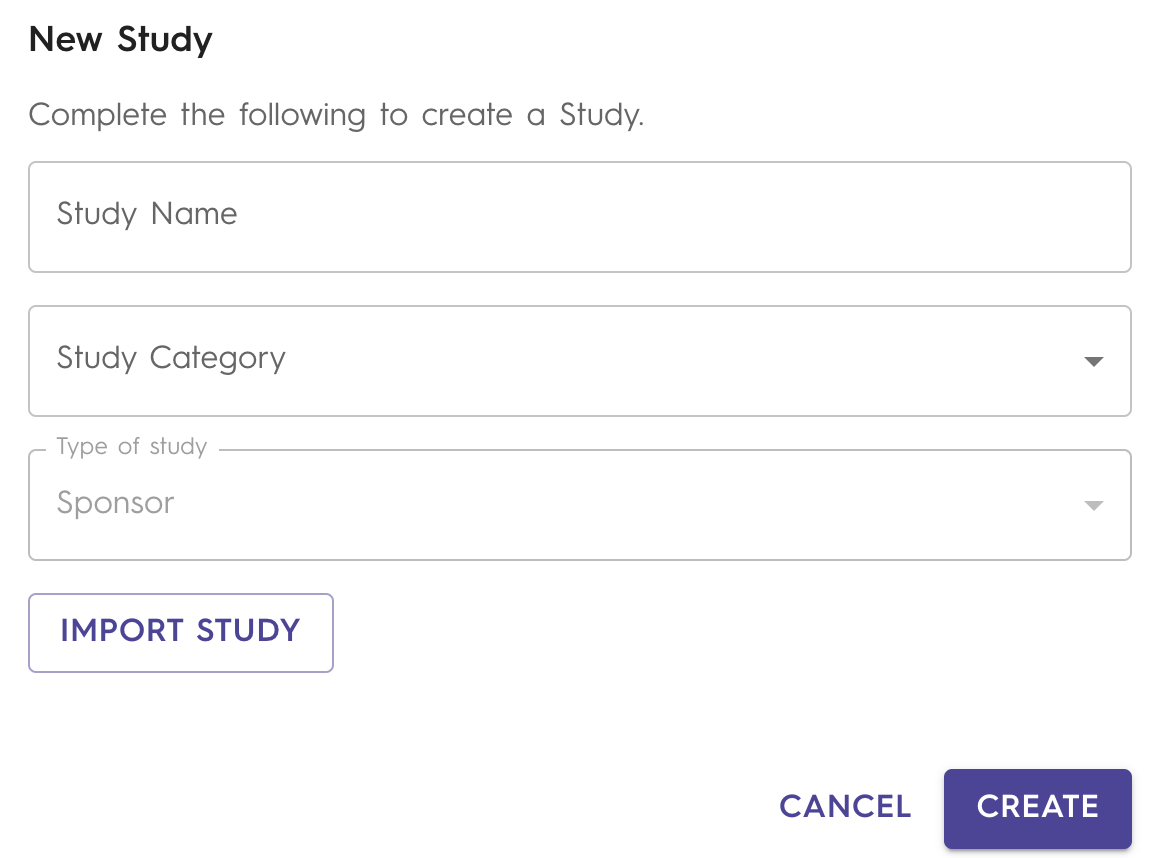
The study is created in Testing status.
For more information on the Testing status, see Study Status article.
What Happens Next?
Your brand-new study is now in Testing mode, ready for you to:
Build Forms – create surveys, eConsents, and study instructions.
Add Study Templates – set up your study schedule and automated events.
Update Study Settings – adjust dates, collaborators, or integrations.
Stay in Testing until everything is verified, then change the status (e.g., to Recruiting) when you’re ready to enroll participants.
For more pointers, see our 📄 Quick Start Guide
FAQs
Question | Answer |
I don’t see the Add Study button. What should I do? | Only Organization Admins can create studies. Ask an admin to update your role if needed. |